Hey there! Looking to get into hydroponics but don’t want to break the bank? Well, you’re in luck! In this article, we’ll show you how to ditch the expensive hydroponic equipment and opt for a cheaper solution using a pool noodle. Traditional hydroponics can be quite costly, especially for beginners, with rockwool, clay pebbles, and net cups adding up quickly. But with this DIY hydroponic method, you can start growing your own microgreens, herbs, and leafy greens without spending a fortune. It’s easy, affordable, and accessible to everyone who wants to grow their own food. So let’s get started and grow some delicious veggies using a budget-friendly pool noodle!
Whoa, slow down there! Before you go all-in on traditional hydroponics with all the expensive gear, let’s introduce you to a more affordable option. Say goodbye to pricey rockwool, clay pebbles, and net cups, and say hello to the humble pool noodle. For just a few dollars, you can create your own DIY hydroponic system and start growing microgreens, herbs, and leafy greens without breaking the bank. Everyone deserves the opportunity to grow their own food, and with this cheap and easy method, you can do just that. Share this article with someone who could benefit from this cost-effective solution, and let’s make hydroponics accessible to all.
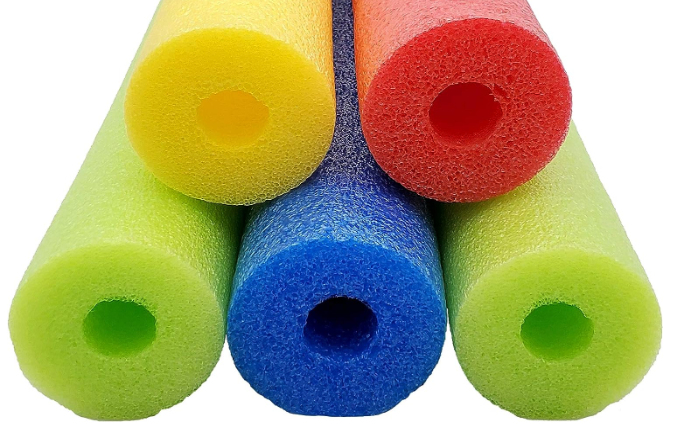
Check out this video from the excellent Keep on Growin’ with Mike VanDuzee channel on YouTube.
Introduction
Are you interested in growing your own microgreens, herbs, or leafy greens through hydroponics? Traditional hydroponics can be quite costly for beginners, with expenses like rockwool, clay pebbles, and net cups adding up. But don’t worry! There is a cheap and easy solution that will allow you to grow your own food without breaking the bank. In this article, we will introduce you to the pool noodle solution, a cost-effective and efficient way to start your hydroponic gardening journey.
Traditional hydroponics
Traditional hydroponics involves using materials like rockwool, clay pebbles, and net cups to grow plants in a soil-less environment. Nutrient-rich water is used instead of soil to provide the necessary nutrients for plant growth. While traditional hydroponics can yield great results, it can be expensive and requires a significant investment in equipment and supplies.
Issues with traditional hydroponics
The high cost associated with traditional hydroponics can deter many beginners from trying it out. The need to purchase materials like rockwool, clay pebbles, and net cups can quickly add up and become a burden on your budget. Additionally, setting up and maintaining traditional hydroponic systems can be complex and time-consuming.
Introduction to the pool noodle solution
The pool noodle solution offers a cheap and easy alternative to traditional hydroponics. Instead of using expensive materials like rockwool and clay pebbles, you can utilize pool noodles as a grow medium for your plants. Pool noodles are inexpensive and readily available, making them a cost-effective option for beginners.
Benefits of using a pool noodle
Using a pool noodle as a grow medium for your hydroponic system offers several benefits. Firstly, it is incredibly affordable, with pool noodles costing only a few dollars apiece. This makes it accessible to anyone, regardless of their budget. Additionally, pool noodles are lightweight and easy to work with, making them ideal for beginners who are new to hydroponic gardening. They also provide adequate support for plant roots and allow for proper airflow, ensuring healthy plant growth.
Materials needed for the pool noodle solution
To set up the pool noodle solution, you will need the following materials:
- Pool noodles (approximately 5 pieces)
- Scissors
- Nutrient solution
- Container for nutrient solution
- Microgreen seeds or seedlings
Step-by-step guide to setting up the pool noodle solution
Preparation
- Start by removing the old plants from your hydroponic system and disposing of the old nutrient solution.
- Clean the container used for your hydroponic system, ensuring it is free of any dirt or debris.
Creating the grow medium
- Cut the pool noodles into cross-sections that are approximately 1 inch thick. Each average pool noodle, which is 48 inches long, can yield around 48 pieces.
- Take one of the pool noodle cross-sections and cut out a small section in the middle to create a hole.
- Place the cut-out piece back into the middle of the pool noodle, ensuring there is still a small hole for your microgreens to fit through. This will prevent the microgreens from falling through the pool noodle.
- Repeat this process for the remaining pool noodle cross-sections, creating enough grow mediums for your desired number of plants.
Setting up the hydroponic system
- Fill a container with nutrient solution according to the recommended recipe for your chosen plants.
- Place the pool noodle grow mediums into the container, ensuring that the roots of the plants are submerged in the nutrient solution.
- Gently place the microgreen seeds or seedlings into the small holes of the pool noodle grow mediums, making sure not to damage the delicate plants.
- Close the holes in the pool noodle by pressing the sides together, holding the microgreens securely in place.
- Allow the hydroponic system to sit undisturbed for several weeks, checking the nutrient solution levels periodically and replenishing as needed.
- Enjoy watching your microgreens, herbs, or leafy greens grow and harvest them when they have reached the desired maturity.
Conclusion
Hydroponic gardening doesn’t have to be expensive. By using a pool noodle as a grow medium, you can set up a cheap and easy DIY hydroponic system. The pool noodle solution offers numerous benefits, including affordability, accessibility, and ease of use. With just a few inexpensive materials and a straightforward setup process, you’ll be well on your way to growing your own microgreens, herbs, and leafy greens in no time. So ditch the expensive stuff and give the inexpensive pool noodle solution a try – you won’t be disappointed!